As computing becomes more ubiquitous in our objects, designers need to be more aware of how to design meaningful interactions into electronically enhanced objects. At the University of Washington, a class of junior Interaction Design majors is exploring this question. These pages chronicle their efforts.

Thursday, April 19, 2012

Ryan and Dave's Arduino


1. Our Arduino Box.

2. Attaching the Arduino to the tray.
3. Downloading the Arduino software.

4. Attaching the cord between the Arduino and the computer using the usb cord.
5. Selecting the Serial Port.

6. Attaching the led light.
7. Uploading the code to the Arduino.

8. The blinking LED attached to the Arduino 

9. One step further... The push button.
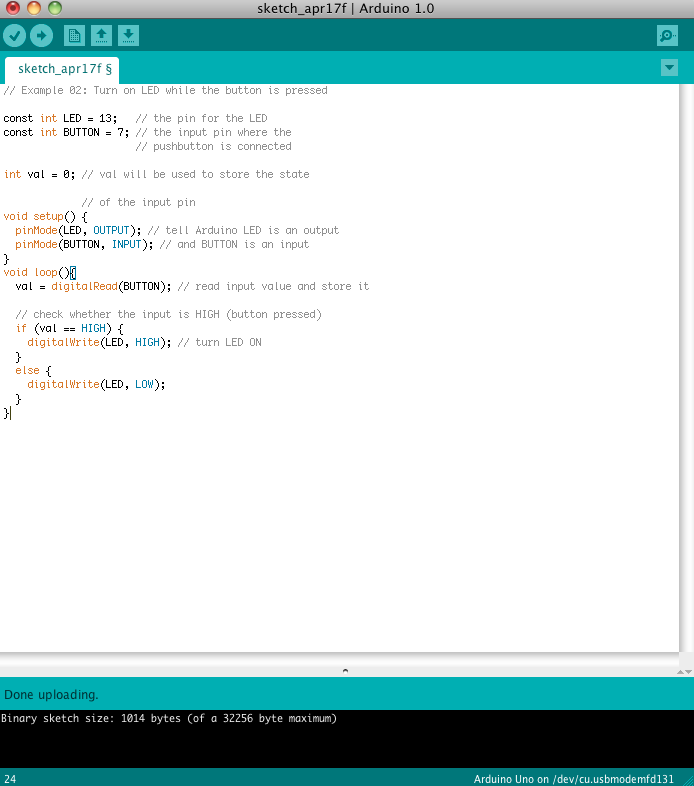
10. Our code for the push button.

10. Our set up with the push button.
Generally setting up the Arduino and executing the blinking code was simple and easy to do. The book was very clear for the instructions regarding how to execute the first exercise. However, when we tried to implement the button, we ran into some difficulties due to some faulty wires. After doing some troubleshooting, we switched out the wires and the button worked perfectly.


No comments:

Post a Comment